DC:CB is a very different game than Unity of Command. It is almost board game like in it's presentation, and definitely an old school wargame in most of it's approach. There are some really unique things about it though that make it a real joy to play, assuming you're okay with moving lots and lots of counters.

The scenario introduction screen. Graphically it isn't as slick as UoC, but the art style is functional and attractive. One nice feature of the scenarios is that there are a number of optional rules and variants, increasing re-playability. There's also a scenario editor, though I haven't tried that feature yet.

Overview of the entire map at the end of the first Soviet turn. As expected, the Soviets are pushing through the German lines from the Izium Salient. Two of my three Panzer divisions are frozen this turn to reflect German surprise and OKH being slow to release these divisions for combat. The tabs across the top expand into various information screens that I'll discuss later.
I'm going to begin my counterattack with 14th Panzer. I've prepared for the attack with both air attacks (individual Luftwaffe squadrons exist as on-map counters) and an artillery bombardment. I want to be sure of breaching the enemy line, however, so I'm going to make use of one of the more interesting mechanics of DC:CB.
Command and control is important in the game. Each corps has a separate HQ unit that exercises C&C over the divisions under its command, and those corp HQs in turn are subordinated to Army HQ's, and eventually all the way up to theater command. These HQ units are also the logistics hubs for supply distribution. Obviously they're important and you don't want to lose them. At the same time each HQ has a geographic radius for command and logistics, and so has to stay within range of the units it commands. That's all fairly standard for a game of this nature.
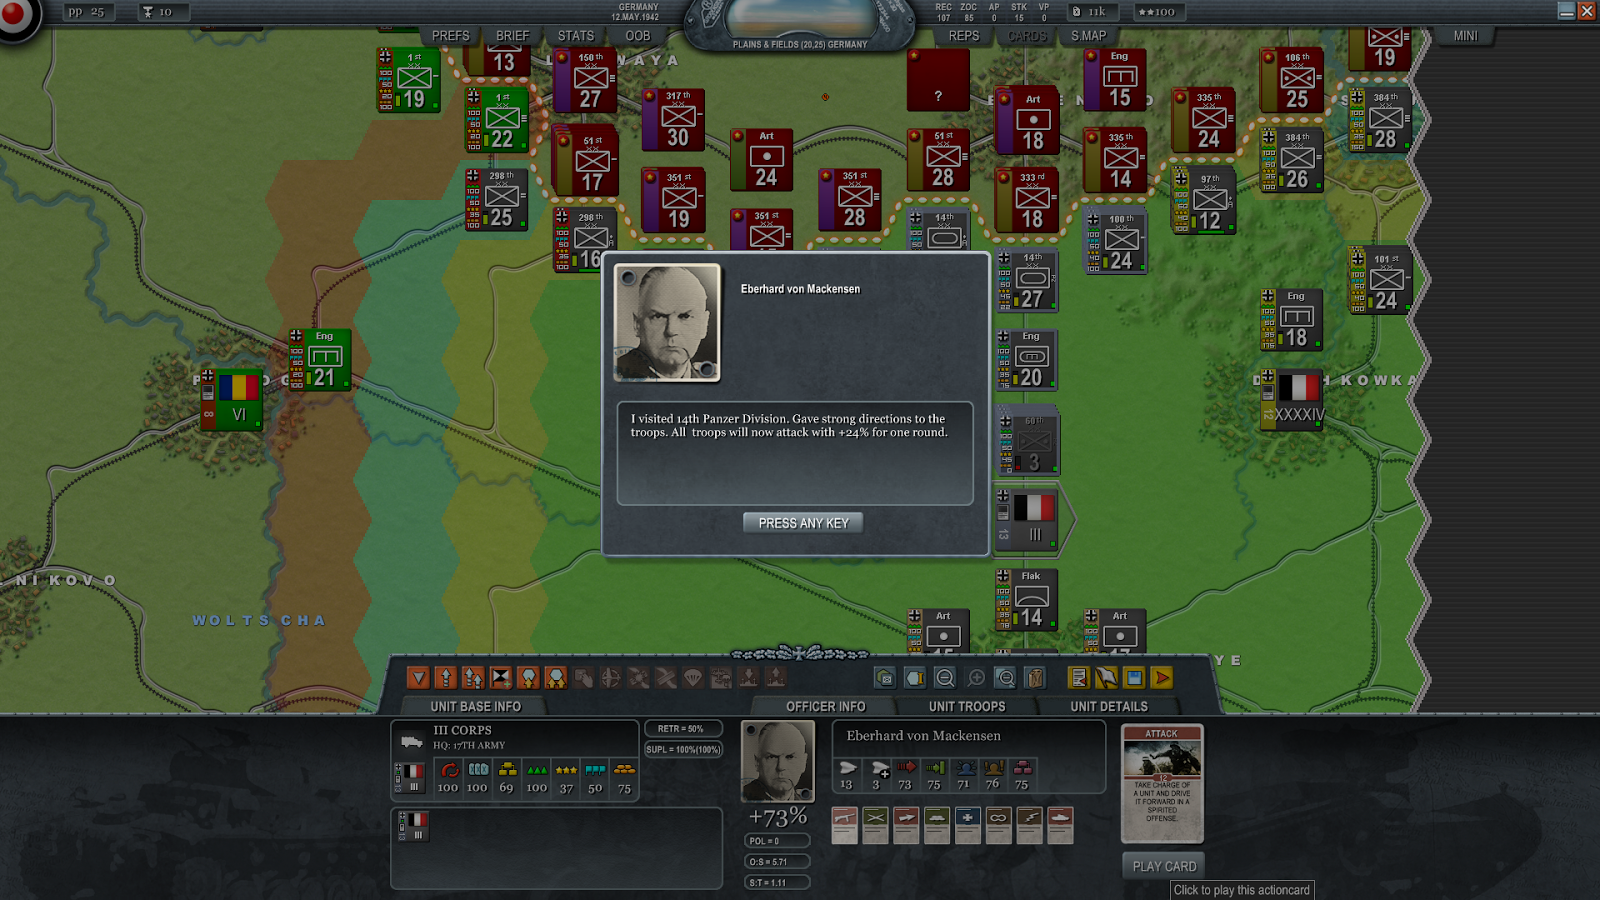
In addition to all of the above, HQ units also have leaders, and these leaders have certain actions they can take to influence combat. These actions take the form of "cards" that can be "played" on your units. In the example above, I'm using the commander of III Corps, von Mackensen, to play the "Attack" card on 14th Panzer. General von Mackensen dutifully visits 14th Panzer and gives them strong direction for their attack, imparting a bonus this turn. There are also cards at the "regime" or national level, that primarily have to do with theater wide actions. It's a neat mechanic with board game roots that actually ends up increasing immersion. The graphics nicely enhance the portrayal of the individual commanders

The other mechanic that's different in DC:CB from most other wargames is that when you attack, you don't select units to attack with and then specify a target, but rather you select the hex you want to attack, and then specify the units to participate in the attack. This makes logical sense to me, though apparently it throws some people for a loop. It's not dissimilar to the manner for plotting attacks in The Operational Art of War III. Heres I'm selecting the three regiments of 14th Panzer for the attack.

14th Panzer's attack is successful, and here on the northern side of the salient I attack with 62nd Infantry and the 108th Hungarian Infantry against the Soviet 21st Tank Division. Our attack manages to isolate the Soviet spearhead units, at least for a time.

The Soviet divisions make less headway in the north. My troops are well entrenched and it's easy to make small moves to keep the line intact.

The OOB tab provides a very nice hierarchical OOB browser. You can view your units in a traditional tree view...

...or select one of the filters from the column on the left to look at specific troop types. Selecting the unit zooms the map to it and highlights the component regiments.
If you've played the Command Ops "Operation Hubertus" scenario I posted about during the past couple of weeks, you'll recognize the unit I've selected, the 100th Jaeger Division as one of the units participating in that engagement. The 100th Jaeger of Operation Hubertus is a shadow of the unit represented here at the beginning of the offensive.

The end of the Soviet round of Turn 2. More Soviet breakthroughs to the west, and I'm about to get the better part of four divisions encircled south of Kharkov. The OKH HQ unit is selected, highlighting the unit's command radius.

The Germans had a bit of a rough handling in these first couple of turns, but all that is about to change. 3rd and 23rd Panzer have been released.
Next episode: Panzer attack!
I love DC: Case Blue and I don't play it enough. It does have an old school board game feel and there are a ton of options. It also seems very faithful to the history. My only hang up with the game is the combat. Sometimes the results seem a bit dodgy.
ReplyDeleteYes I agree, the combat results are very wide ranging.
DeleteVery nice AAR Doug. I look forward to your next episodes. Never played the DC series but now I am interested.
ReplyDeleteThanks Fatih! I should have time for some more of this battle this week. DC:CB really is a great game.
Delete